Linux Mint is a well-known Linux distribution that offers users the chance to try it before they install it. In this guide, we will explain how to try Linux Mint and, if you like it, how to replace Windows with it.
Linux Mint is a free and open-source operating system that is designed to be user-friendly and easy to use. It is based on Ubuntu, and it comes in three desktop environments: Cinnamon, MATE, and Xfce. It offers a number of features and applications that make it a great choice for both new and experienced users.
These features include the ability to customize the desktop, a software manager that makes it easy to find and install new software, and a wide range of applications for everything from browsing the web to editing documents. Linux Mint is also known for its stability, security, and reliability.
Before you head onto installing Linux Mint on your PC make sure to check the minimum system requirements for it. The system requirements for Linux Mint are as follows:
- 2GB of RAM (4GB recommended)
- 20GB of disk space (100GB recommended)
- 1024×768 resolution (on lower resolutions, press ALT to drag windows with the mouse if they don't fit on the screen)
If you have a computer from the last decade or so that still works, it can almost certainly run Linux Mint.
How to install Linux Mint on your PC?
First, you need to download a copy of Linux Mint from the link here. There are three different desktop options:
- MATE
- Xfce
- Cinnamon
If you have a 2012 or newer PC, go with Cinnamon. If you have an older machine, try Mate, and if your PC is really old or doesn't have computing power, use Xfce.
Next, make sure the image file you just downloaded is the real thing. Download the sha256sum.txt and sha256sum.txt.gpg files to verify it. You should be able to find them in the same place you downloaded the ISO image.
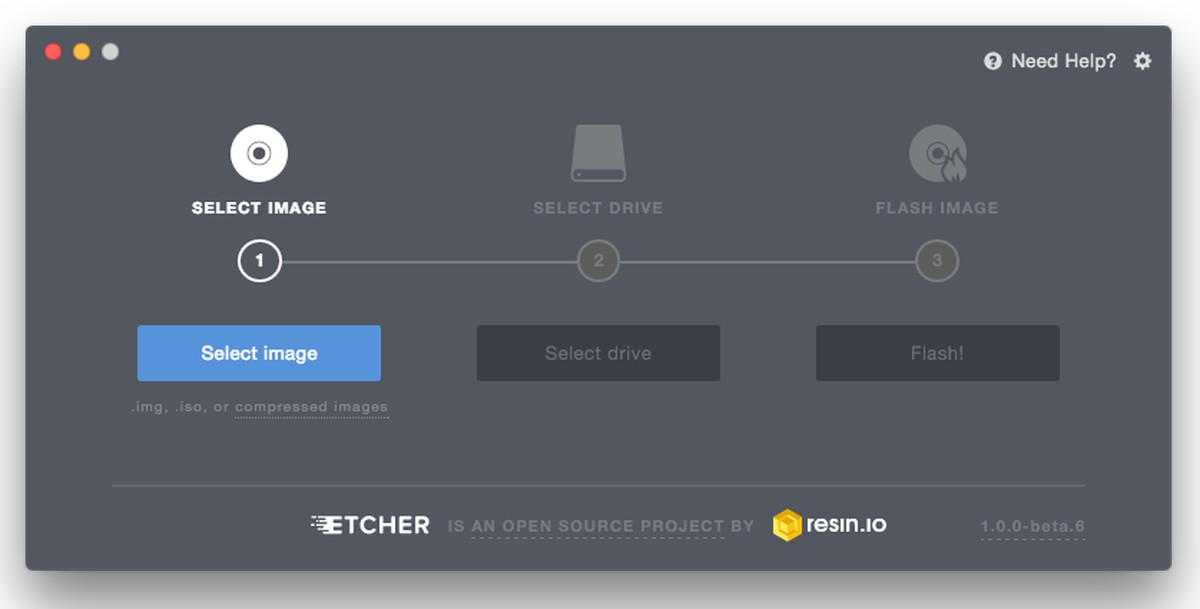
Then, burn the image to either a DVD disc or a USB stick. If you're using a USB stick, set it up with persistent storage. Linux Mint recommends using Etcher to do so.

Boot Linux Mint
Before you head onto installing Linux Mint, it is recommended to take a System Restore Point on your Windows PC just in case. Here are Windows' instructions on how to do it.
Insert your disc or USB stick that you have burned the image of Linux Mint into your PC and reboot. During the reboot, stop the boot-up process and get to your PC's UEFI or BIOS settings. To stop the boot-up process, you need to interrupt the normal boot process by pressing the specific key or keys required to access the BIOS or UEFI.
The key(s) needed may vary depending on the manufacturer of your computer, but common keys include:
- F2
- F10
- F12
- Esc
- Del
Keep pressing the key repeatedly as soon as you power on your computer until the BIOS or UEFI screen appears. If you miss the chance to access the BIOS or UEFI, simply reboot your computer and try again.
Once you get to the BIOS or UEFI, look for a menu choice labeled "Boot," "Boot Options," or "Boot Order". Set the boot order so that instead of booting from the hard drive first, you boot from either the DVD or USB drive that you have burned the ISO file in. Also, make sure you have turned off the ''Fast Boot'' and ''Secure Boot'' options on your BIOS settings.
Once your PC is set to try to boot first from the alternative drive, insert your DVD or USB stick and reboot. Then, select "Start Linux Mint" from the first menu. Now you're running Linux Mint.

If you like what you see, you're ready to install Mint. Before doing that, make a complete backup of your Windows system. Once you've done that, reboot into Linux again.
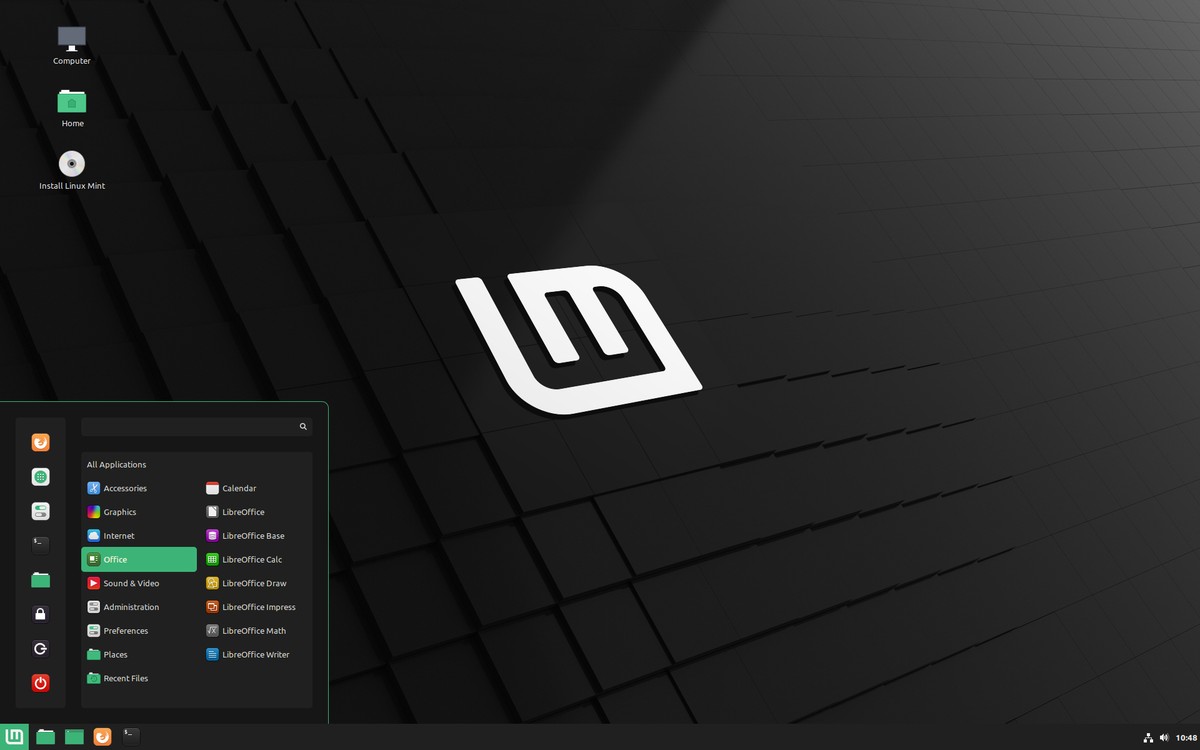
Once you have the Mint display up, one of your icon choices on the left will be to install Mint. Double-click it, and you'll be on your way.
Installation process
During the installation process, most of the choices will be easy. For example, the language you want Mint to use and your time zone. The one critical choice will be how to partition your hard drive. You can enable the option to dual-boot both Windows and Mint by picking the first option on the Installation Type menu: "Install Linux Mint alongside them".
This procedure will install Linux Mint next to your existing Windows system and leave it totally untouched.
Once the installation is complete, you'll need to give your system a name, pick out a username for yourself, and create a password. Mint's setup menu enables you to automatically create a system snapshot with Timeshift.
Timeshift is a system restore and snapshot tool for Linux Mint that allows you to create and restore system backups. It takes a snapshot of your system's configuration files, installed packages, and settings at a specific moment in time, allowing you to restore your system to that exact state if something goes wrong. With Timeshift, you can easily revert to a previous snapshot if an update or installation breaks your system or causes issues.
Next, you can have it check to see if your computer needs any additional drivers. After this, you can choose to install proprietary multimedia codecs.
Updates, updates, updates...
Finally, you should update your system to the latest software. Unlike Windows patches, when you update Mint, you're updating not just your operating system but all the other programs.
To do this manually, click on the shield icon in the menu bar. It will then prompt you for your password and ask if you really want to update your system. Say yes, and you'll be ready to give your new Mint system a real tryout.
Thank you for being a Ghacks reader. The post Tired of Windows? Here is how to try Linux Mint appeared first on gHacks Technology News.
0 Commentaires