Microsoft has updated the Android version in the Windows Subsystem for Android (WSA). The OS has been upgraded from Android 12 to Android 13, but it's only available for users in the Windows Insider Channels.
Microsoft updates WSA to Android 13
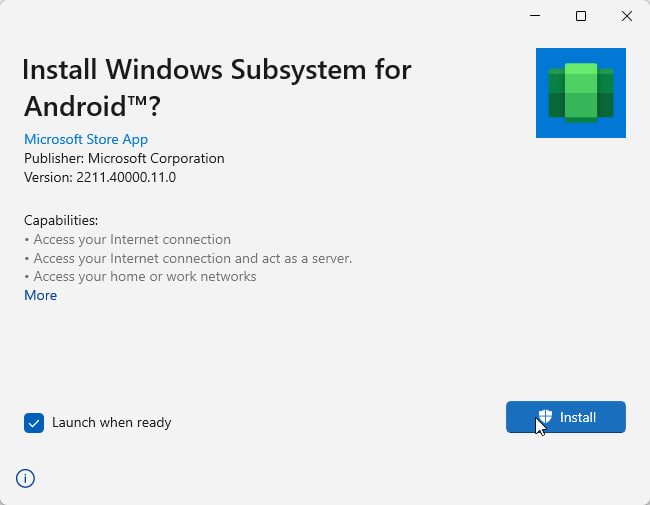
The Android 13 update for WSA is available with version 2211.40000.11.0. You can update to it from the Microsoft Store app. The releases notes for the update state that the new version includes various performance improvements such as the boot speed, mouse click input, clipboard stability, app resizing, media files, jumplist entries, etc.
Of course, those changes are all under the hood, so may not notice it. If you are a developer, or an enthusiast, and want to test Android apps and games on the latest version of Android, you should update to the new build.
Here's the thing. You don't actually need to have a Windows 11 Dev Channel or Beta build installed on your PC to upgrade WSA to Android 13. I installed it in the stable version of the OS, and it works fine. You just have to download the app manually, here's how to do it.
How to install Android 13 in Windows Subsystem for Android on Windows 11
1. Go to this page.
2. Paste the following URL in the text box.
https://ift.tt/U0dJAie
3. Click the drop-down menu and set it to the RP ring.
4. Hit the checkbox and the website will fetch the results from Microsoft's server.
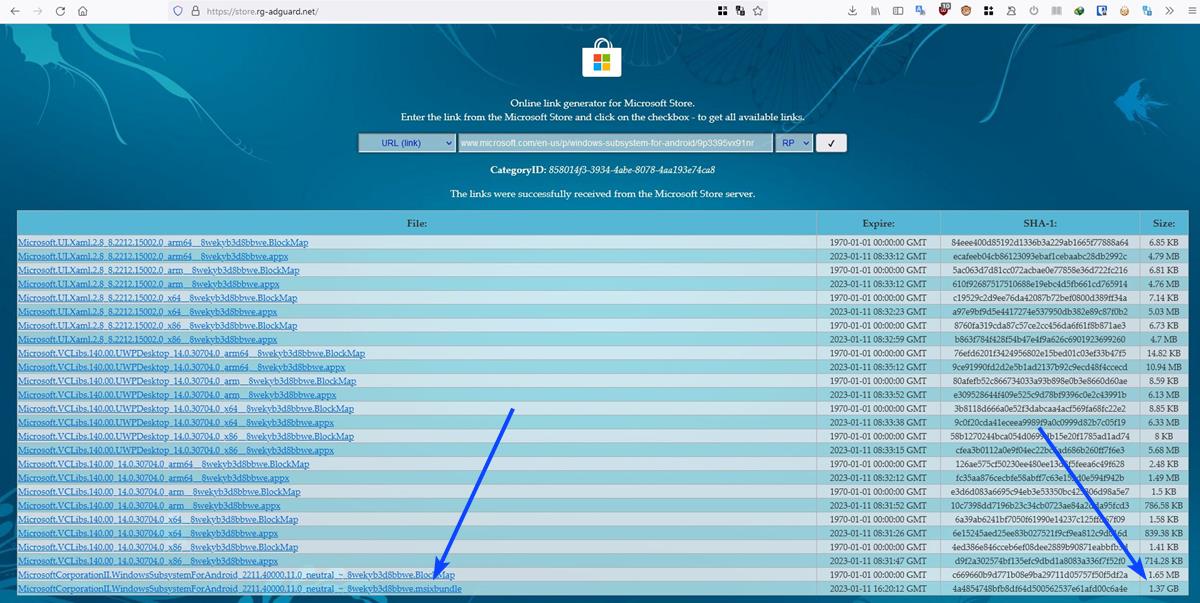
5. The version number of the msixbundle file is 2211.40000.11.0. Just look for the biggest file in the list (1.37GB), it was at the bottom of the page, and named
"MicrosoftCorporationII.WindowsSubsystemForAndroid_2211.40000.11.0_neutral_~_8wekyb3d8bbwe.msixbundle"
Note: You must enable virtualization in UEFI or BIOS, and also enable Virtual Machine Platform, and Windows Hypervisor Platform under Windows Features to get WSA to work.
6. Install the app on your Windows 11 PC, and you're good to go. You can run the Amazon AppStore app, which automatically gets installed when you install WSA, to download and install Android apps on your computer. If you want to sideload apps, you will need to do a few things.
How to sideload Android apps on Windows 11
First, you'll need to enable Developer Mode in WSA. To do this, open the Windows Subsystem for Android Settings, click on Developer in the sidebar, and enable the toggle in the right pane. See that local IP address displayed on the page? We'll be using that shortly.
The next step is to get Android Debugging (ADB) working, and for that you have to download the SDK Platform Tools for Windows. You can find it on Google's Android dev portal. Extract the archive's contents to a folder. For example, C:\platform-tools
Place the APK files for apps that you want to install inside the same directory. Download it from any source, I'm using the F-droid.APK in this example, you can find it here.
Open Command Prompt as an administrator, and navigate to the location of platform-tools. Type the command:
adb connect 127.0.0.1:58526
This will authenticate access to the Windows Subsystem for Android. Now you can install the apps using the APK files. The command for it is adb install appname.apk e.g. If I want to install the F-droid store (which I placed in the platform-tools folder), I can type the following command.
adb install F-Droid.apk
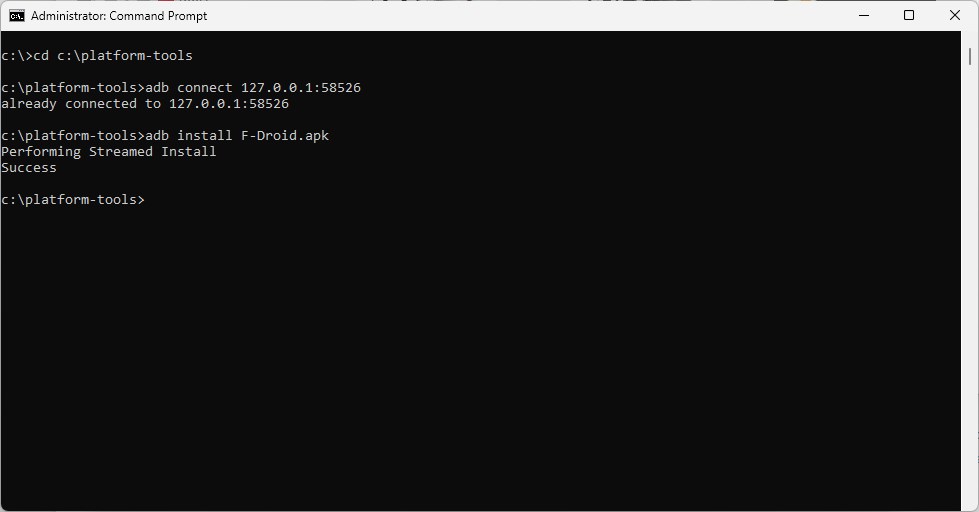
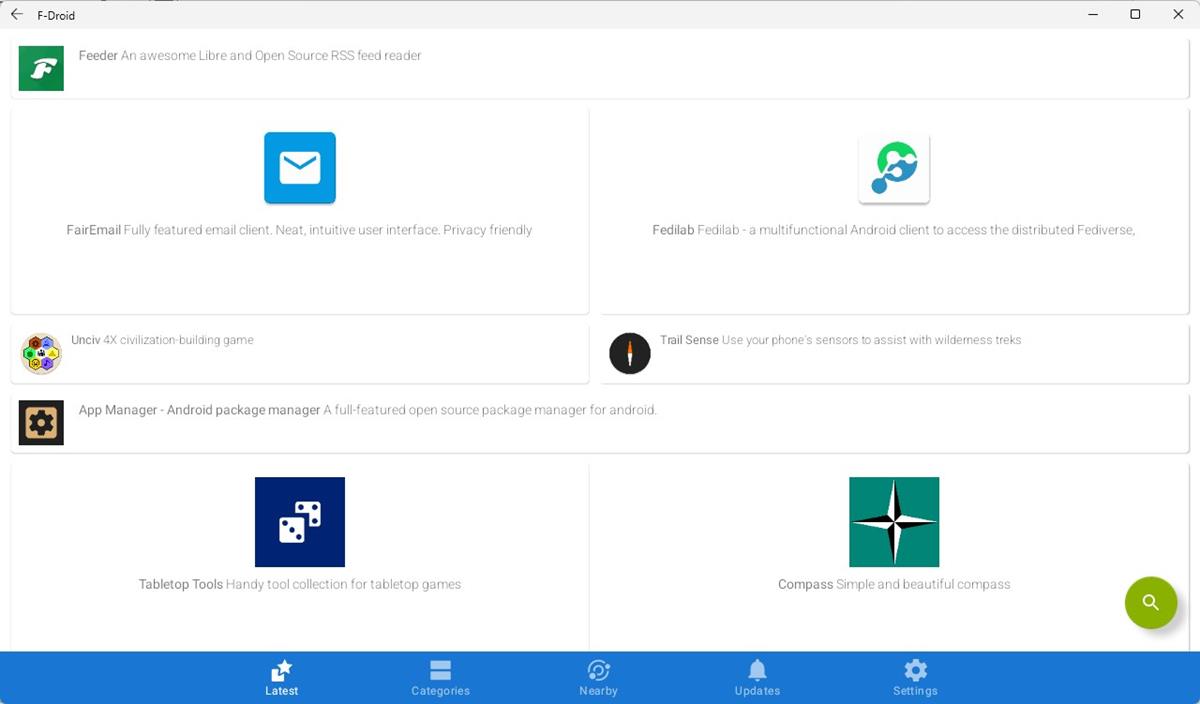
The app should now be installed on your PC, and can be accessed from the Start Menu.
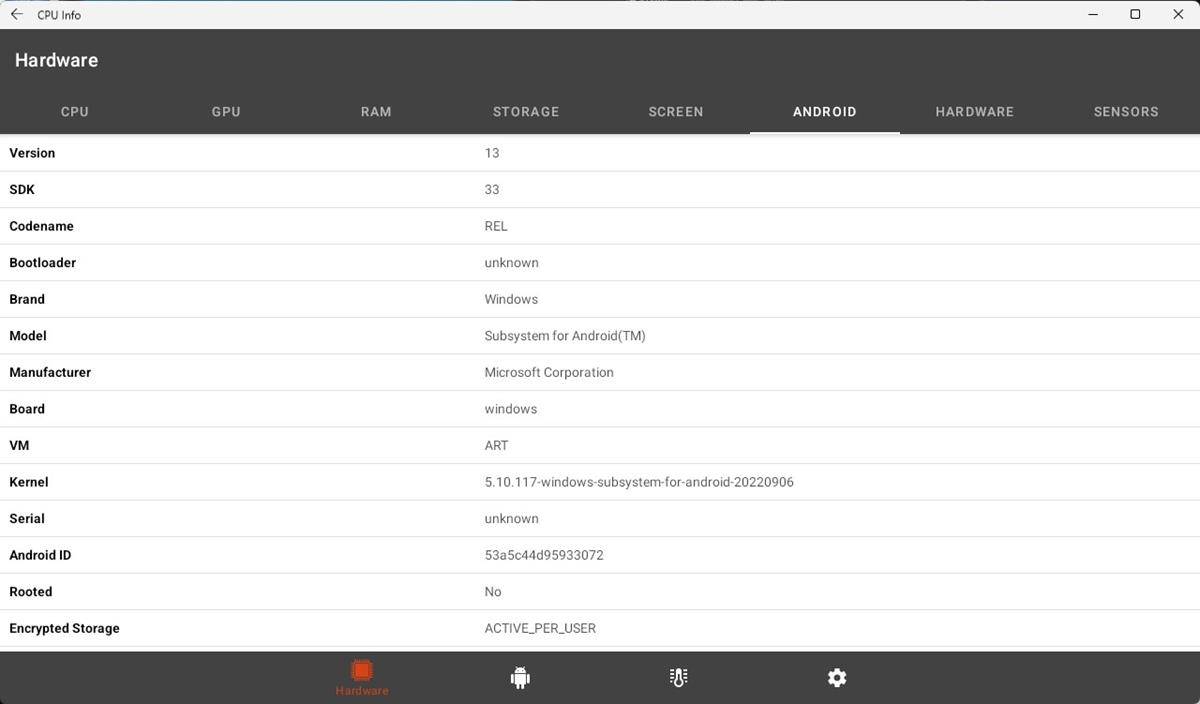
If you want to check the Android version of WSA in Windows 11, just install an app that gives you the details. CPU Info, for example, can be handy in this scenario.
Do you use WSA on your Windows 11 computer?
Thank you for being a Ghacks reader. The post Microsoft updates WSA to Android 13, here's how to install it on your Windows 11 PC appeared first on gHacks Technology News.
0 Commentaires